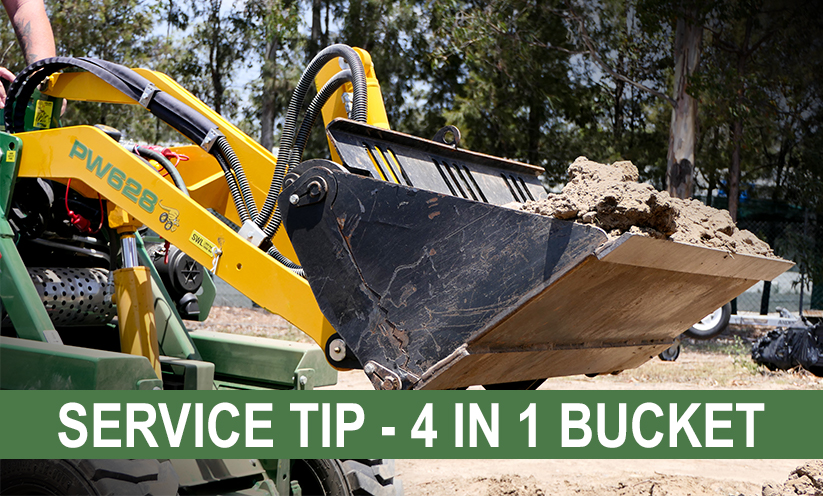
Even though a key feature of the Kanga Mini 4in1 bucket is low maintenance, there are a couple of checks you can do before each use to make sure you work efficiently and safely.
We recommend you carry out the following steps on a regular basis to ensure the best performance of your Kanga Mini 4in1 bucket:
1. Firstly, check if all your safety stickers are in place, understood and followed correctly. If you are unsure about the signage, all the correct information is provided in your operator’s manual of the Kanga Mini 4in1 bucket.
2. Secondly, make sure that all nuts and bolts are tightened on your linkages and pins.
3. Then, check the bucket’s hydraulic fittings and hoses for any leaks and make sure that no leaks are present.
4. Equally, check for any wear and tear on your pins, linkages and cutting edges of your Kanga Mini 4in1 bucket. You might find excessive play in your pins and linkages or you have a worn-down cutting edge. If so, please refer to your operator’s manual or get in contact with us to replace or repair any damage or excessively worn parts.
5. Always remember: any excessive build-up of debris around your cylinder can damage the cylinder rod and dust seal. Therefore, make sure to keep your cylinders clean and free from debris. Any damage by build-up may void your customer warranty.
6. Last but not least, grease your bucket every 10 hours of use – generously but not excessively. Grease nipples are located at the top and bottom of the cylinder and on the front of the pivot linkage. After greasing, be sure to wipe away any excess grease. It may attract dirt and debris, which can add to the wear and tear on your pins and linkages.
If you’re unsure of any of this information, make sure to check the operator’s manual or contact us here.
Stay up-to-date with tips and tricks all around our Kanga Mini Loaders through our social media channels on Facebook, Instagram, LinkedIn and YouTube.

